 Eppiflex EPP Templates


Cart
Your cart is currently empty.
Fussy Cutting With Eppiflex
One of the things I love about the clear Eppiflex templates is that they make fussy cutting your printed fabrics so easy. You dont need a separate perspex template to cut the fabric - you can use the template you sew with to make a "mask" of the fabric repeat you want.
This is something that we demonstrate at Quilt Shows, but I thought it was about time we got it on to the website so everyone can see how I do it.
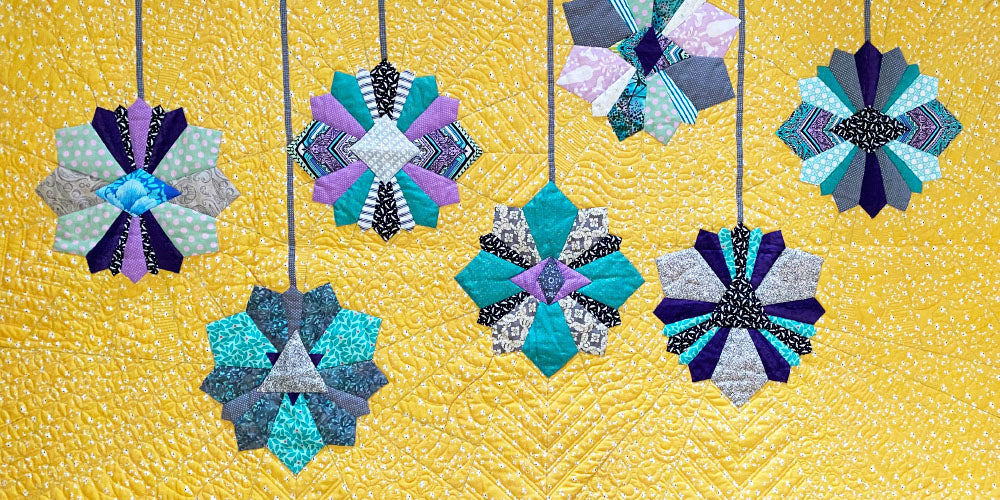
I'm using one of the blocks from the gorgeous New Hexagon Quilt by Katja Marek. Im really enjoying making her design - the small blocks are just right for a busy person and most can be sewn up in just one session. In this block three rhombus meet in the centre of the hexagon. I want to put one flower right in the middle. I will need three of the same flowers to make this block. ie three repeats.
You'll need the following basic supplies to give this technique a go.
- a fabric with repeating pattern that you can fussy cut
- a Sewline Stayer pen ( or any thin nibbed black marker that doesnt smudge - you dont want black ink on your fabric)
- a water erasable marker ( I use the generic blue markers that come out when spritzed with water)
- your Eppiflex EPP templates
- Scotch tape or masking tape ( sticky tape can be a bit painful to remove later)
Firstly position your templates edge to edge in the pattern they will be sewn together. Flip them face down on a mat, keeping the edges together. In most instances face down will be the same as face up - but in my example here it isnt. Place a small amount of tape across the edges to hold them temporarily together on the back of the templates.

When they are taped, turn the taped piece face up so that you can start to trace the fabric pattern

Place the taped piece on your fabric, over the particular design that you want to fussy cut. In this case - I want to put the green lotus flower in the centre of my 3 rhombi.
When you are happy with the design thats showing through your "window" begin tracing with your pen, making sure you avoid the cut out circles in the centre of the Eppiflex. Youll need to trace quite a few lines of your fabric so that your mask is accurate and easy for you to use later.

When you are satisfied that you have traced enough of the fabric pattern to find it again later with your template - separate your templates by removing the tape from the back. ( Now you can see why you need to tape the back and not the front. If you had taped the front all of your pen would come off with the tape)

Now you need to find three of the same flower ( repeat) on the fabric.
Each one will be traced around with your new "masks" that you have made with your templates.
Use the blue erasable pen to trace around the template as it will just wash off later.

See how the black pen marks line up with the fabric design? Draw around all the sides of the templates.
Once you have done this, cut your fabrics out, adding a seam allowance ( DO NOT CUT ON THE DRAWN LINES)
Now you can attach the fabric to the templates using your preferred method. At this stage do not iron the fabrics or you will set the blue pen. The blue pen mark should sit exactly on the edge of your shape which will give you a perfect relica every time.

Have a go at fussy cutting some shapes - you'll never look at your fabrc the same way again!